

A delicious breakfast or nutritious snack, this is The Best Chia Seed Pudding Recipe that feels indulgent but actually fuels your body. Made with a blend of coconut milk and almond milk, naturally sweetened with honey and packed with nourishing chia seeds. This recipe is creamy, satisfying, incredibly easy to make and you will find yourself making it on repeat.

Would you like to save this?
Why You'll Love This Chia Seed Pudding
- Simple Pantry Ingredients
- Naturally Sweetened
- Dairy Free and Gluten Free
- Great for Meal Prep
- Customizable with your favorite toppings
Ingredient Notes

Chia Seeds
Chia seeds are the star of this recipe. They absorb liquid and create that signature pudding like texture while adding fiber, protein and healthy omega-3 fats. Make sure to use fresh chia seeds for the best texture.
Coconut Milk
Coconut milk adds richness and creaminess. You can used canned coconut milk for a thicker pudding or a carton of coconut milk for a lighter version.
Almond Milk
Almond Milk balances the richness of the coconut milk and keeps the pudding light. Use unsweetened almond milk so that you can control the sweetness with honey.
Honey
Honey add natural sweetness and pairs beautifully with the coconut flavor. Adjust the amount of honey based on your taste.
Garnish
I love adding fresh raspberries and gluten free granola as a topping to my chia seed pudding. You can customize the toppings to your liking.
How To Make The Best Chia Seed Pudding

Combine the Ingredients
In a large mason jar or other glass container, combine the coconut milk, almond milk, honey and chia seeds. Close the lid and shake until all ingredients are fully combined
Refrigerate
Chill the chia seed pudding in the refrigerator for several hours. Every so often, shake the jar to make sure that the chia seeds are mixed throughout and not settled on the bottom. Allow the chia seed pudding to thicken for 3-4 hours or overnight!
Serve
Chia seed pudding can be enjoyed throughout the week. Pour the serving amount into a bowl and garnish with fresh raspberries, granola and a drizzle of honey. Store the remaining pudding in the fridge for 4-5 days (if it lasts that long!).
Tips for the Best Chia Seed Pudding

- Whisk Well: Whisk or shake the mixture thoroughly when first combining to prevent clumps.
- Stir Often: After 10-15 minutes, give it another shake or stir to ensure the chia seeds are mixed throughout and not settling on the bottom.
- Let it chill: For best results, refrigerate for a least 3-4 hours or overnight
- Add Toppings Before Serving: Add fresh fruit, granola, honey, nut butters or anything you love.
Serving Ideas
Top your chia pudding with fresh berries, sliced bananas, toasted coconut, chopped nuts or a drizzle of nut butter or honey. Its is equally delicious layered into a parfait or enjoyed straight from the jar.
This easy chia seed pudding is one of those simple recipes that feels like a little act of self-care. Nourishing, satisfying and effortlessly delicious.
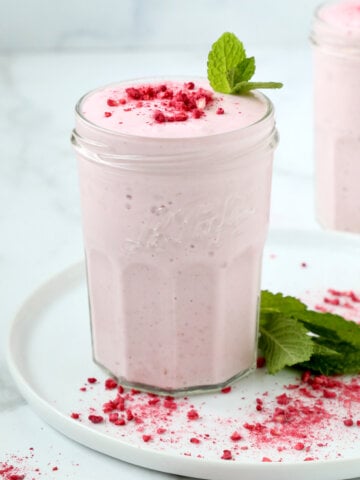
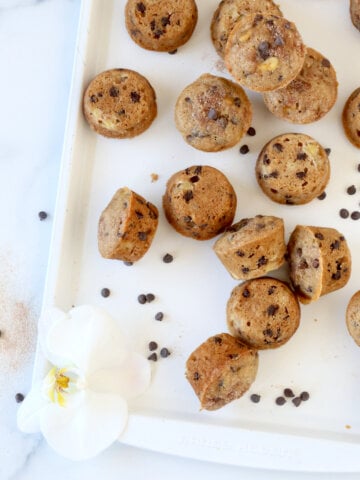
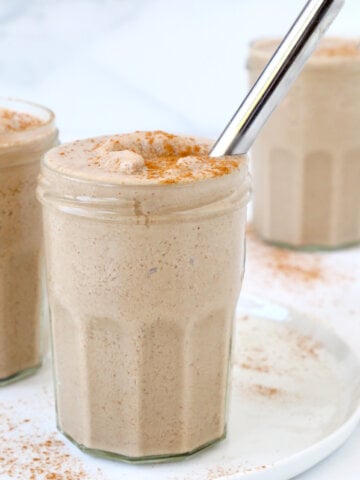
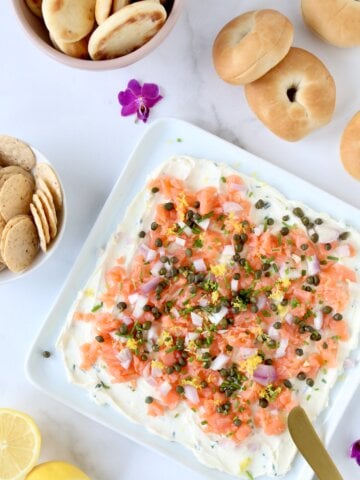
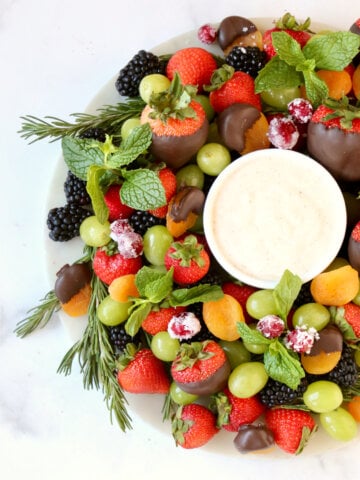
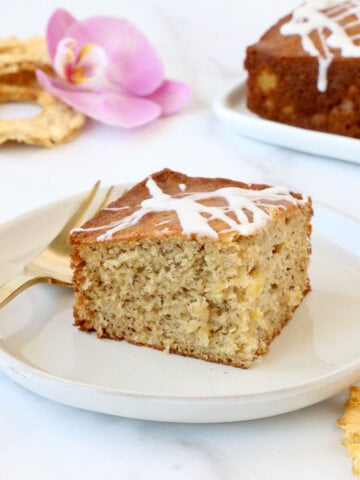
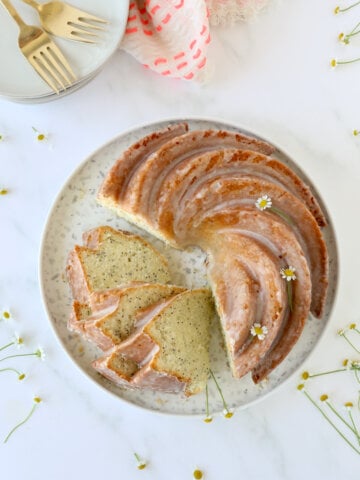
More Recipes You Will Love

Thank you for visiting Joy + Oliver. If you tried this recipe, please leave a 5 Star Review in the recipe card and save all your favorite recipes to Pinterest!
Please visit us on Instagram, Facebook and Pinterest for more of our favorite recipes that you will love!

The Best Chia Seed Pudding Recipe
Ingredients
- 1 ½ Cup Coconut Milk
- 1 ½ Cup Almond Milk
- 6 Tablespoons Chia Seeds
- 2 Tablespoons Honey
Garnish
- Fresh Raspberries
- Gluten Free Granola
- Honey
Instructions
- In a large mason jar or glass container, combine the coconut milk, almond milk, chia seeds and honey. Shake or whisk until fully combined
- Allow the chia seed pudding to chill in the refrigerate for 3-4 hours or overnight. The pudding will thicken while it is chilling. (Make sure to shake or whisk the pudding every so 20-30 minutes to be sure that the seeds don't fall to the bottom)
- Remove the chia seed pudding from the refrigerator and serve approximately ¾ cup into a bowl. Garnish with fresh raspberries, granola and a drizzle of honey.
- Store the remaining chia seed in the refrigerator until you are ready to enjoy!
Nutrition

Leave a Reply