
When halloween rolls around there is loads of candy and sweets, but there is nothing better than a perfect cake centerpiece. This Halloween Vanilla Bean Funfetti Cake is just that. Perfect layers of vanilla cake loaded with colorful sprinkles, smooth buttercream icing and decorated for a spooky night! I am so excited to kick off this new series with you. Cakes and cake decorating has been a passion of mine for so many years and it is something that has taken me through culinary school and beyond of practice and dedication to get me where I am today. One of the most asked questions I get is how I ice and decorate cake and what supplies do you need. I am here to start or continue your learning process with all that I have learned through the years.
 The Process:
Cake
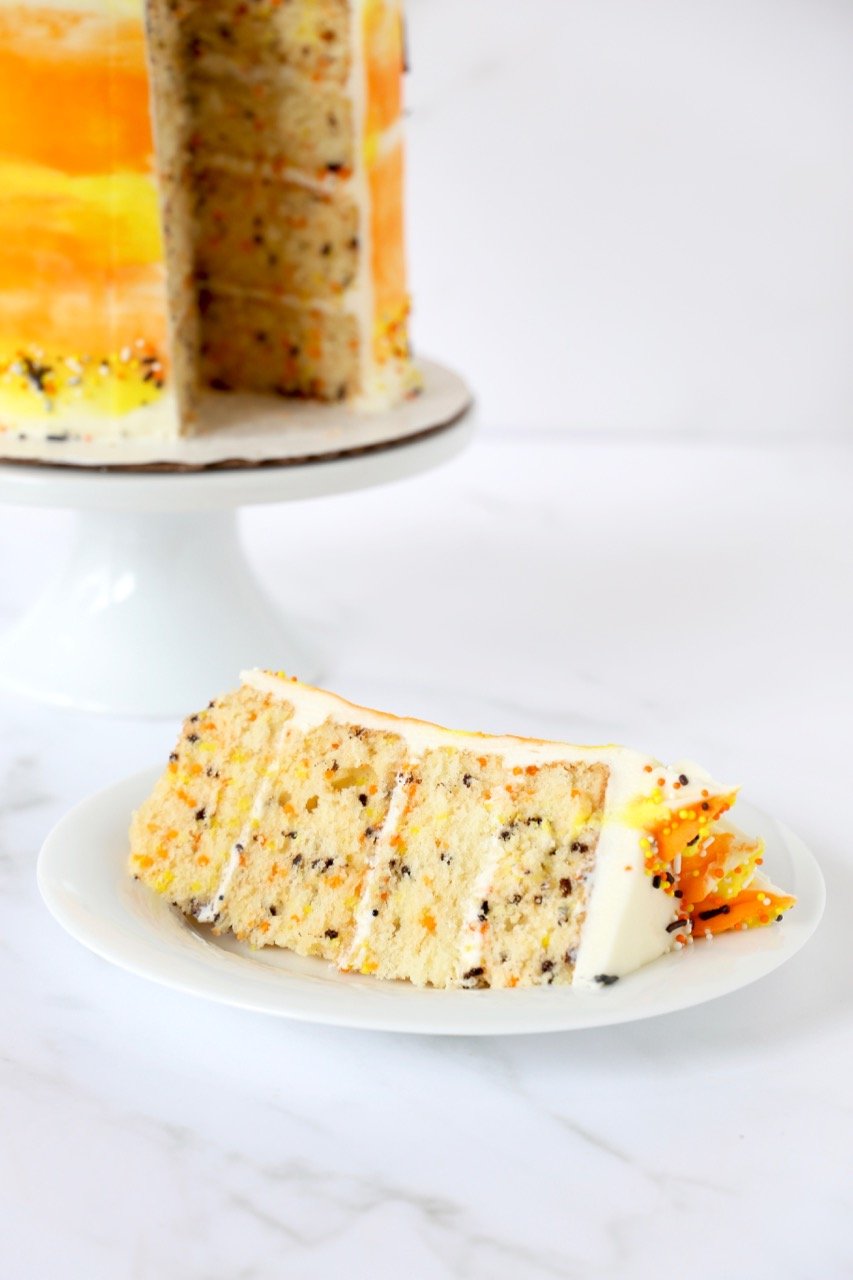
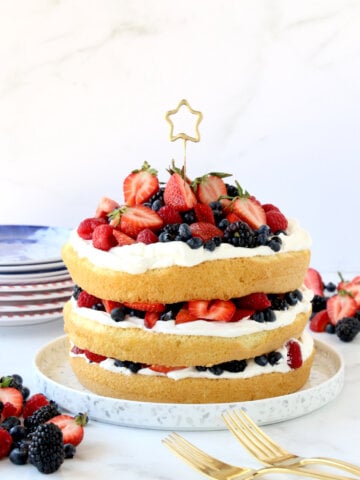
The ultimate vanilla bean cake that is made from scratch and checks off all the boxes is hard to come by, but this is your cake. This vanilla cake is made with oil and butter, which makes it perfectly fluffy, buttermilk for a moist and tender texture and vanilla bean paste for the most wonderful flavor. This cake is very versatile and can be used in many ways, but a family favorite is loaded with sprinkles…funfetti!! Vanilla bean cake has been a favorite of mine for many years and I hope it is yours too!
Simple Syrup
A secret ingredients to making my cakes extra special is simple syrup. I love brushing my, fresh out of the oven, cakes with simple syrup to ensure the most moist and flavorful cake. You can keep your simple syrup plain or add in a flavor to enhance your cake.
Filling & Icing
My go to and all time favorite buttercream is rich, creamy, smooth and perfect for icing any cake. Made with fresh unsalted butter, shortening for stability and powdered sugar makes icing and decorating really easy. 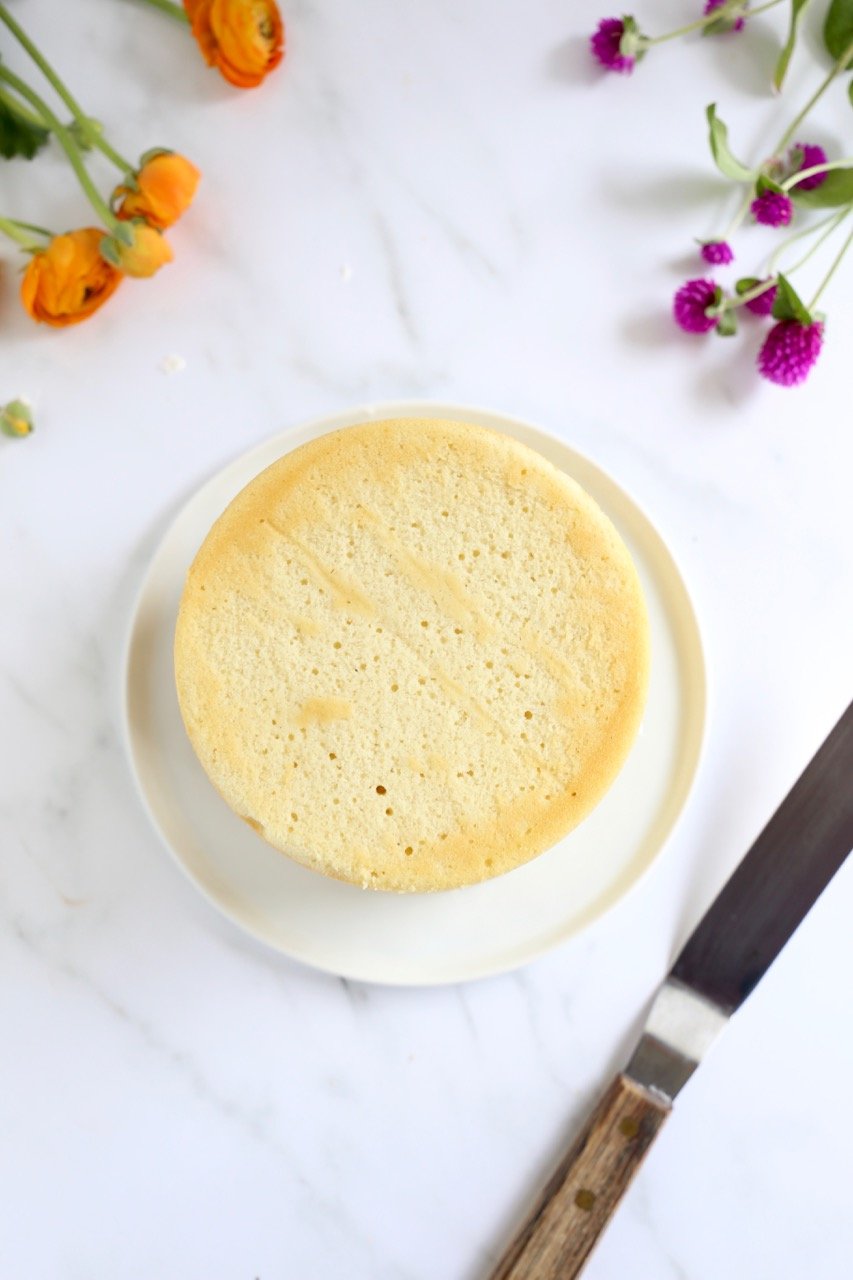
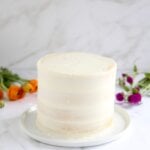
Crumb Coat
Crumb coat is a term that is used in many bakeries, but might not be familiar with home bakers. Crumb coat is something that will make your life a whole lot easier and make your cakes look so much better. When icing your cake, the crumb coat is the first layer that holds all the crumbs together so that there are not pieces of cake throughout your finished product. Once you iced your crumb coat layer, I recommend refrigerating your cake for 30 minutes (or if short on time, freeze for 5-10 minutes) to harden the first layer of icing. Doing this will allow the second and final coat to go on smooth and hide all the layers of your cake. 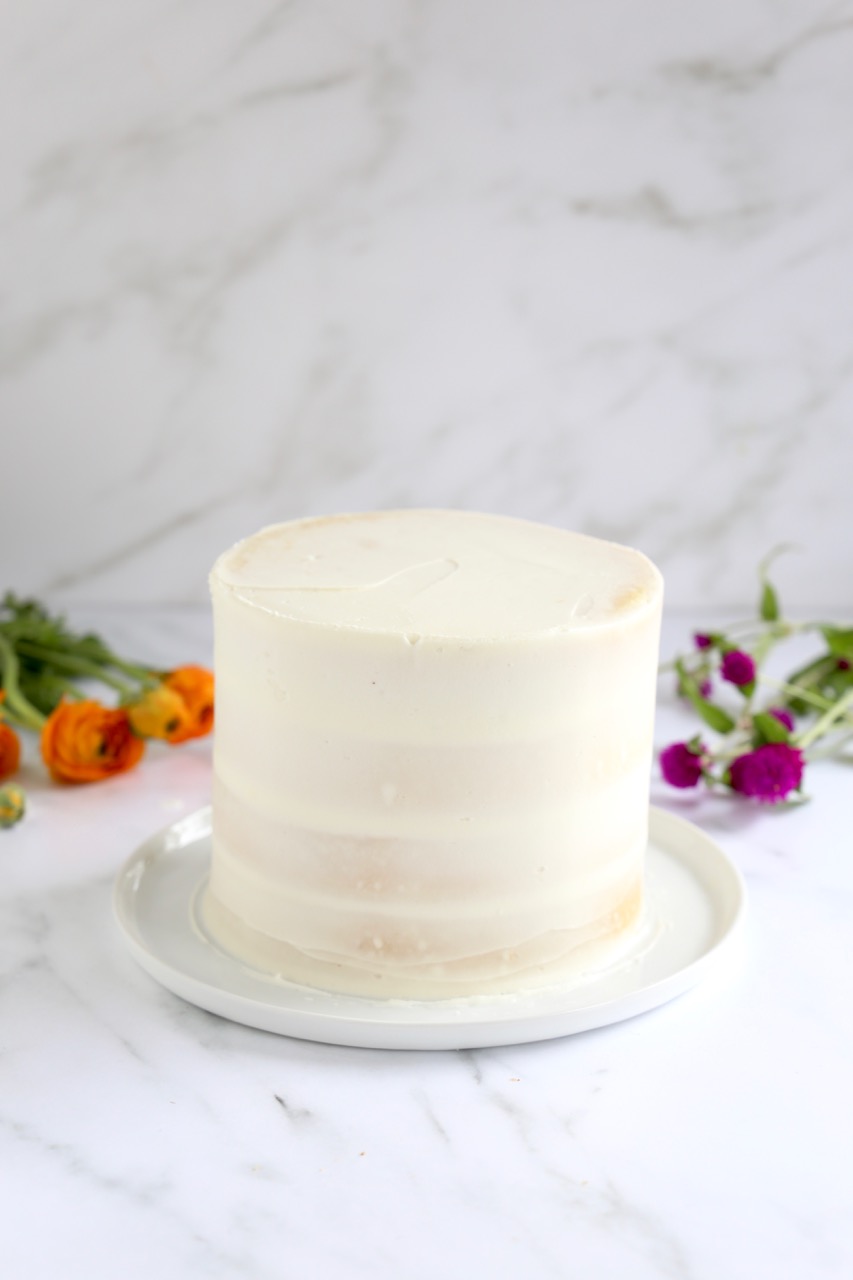
Decorating
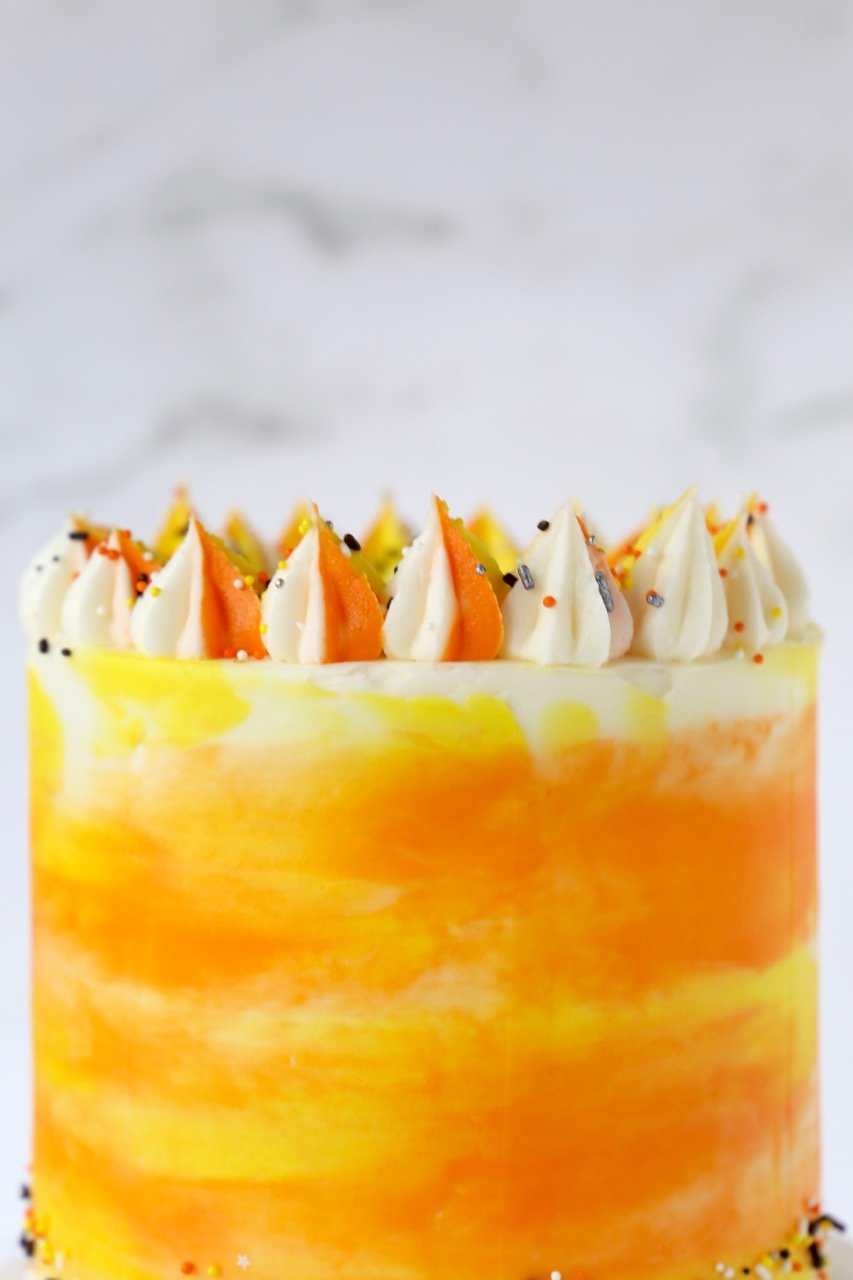
The watercolor technique that I used for the Halloween Vanilla Bean Funfetti Cake is a favorite of mine. It can be done using any and all colors, there is no way to mess it up. Watercolor makes for a whimsical design that can end with a super smooth iced cake or can be left with a beautifully textured icing. Finishing touch with your favorite assorted sprinkles and a spider web to keeps things spooky.
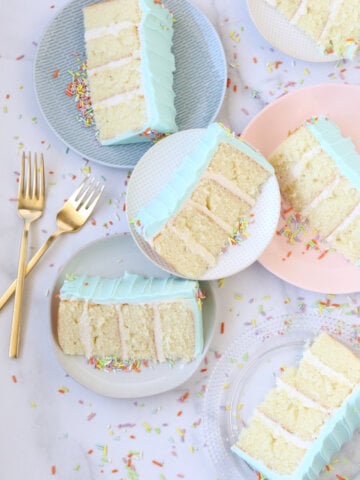
Serve
I recommend serving the Halloween Vanilla Bean Funfetti Cake at room temperature and with your favorite scoop of ice cream! Slice, serve and enjoy! 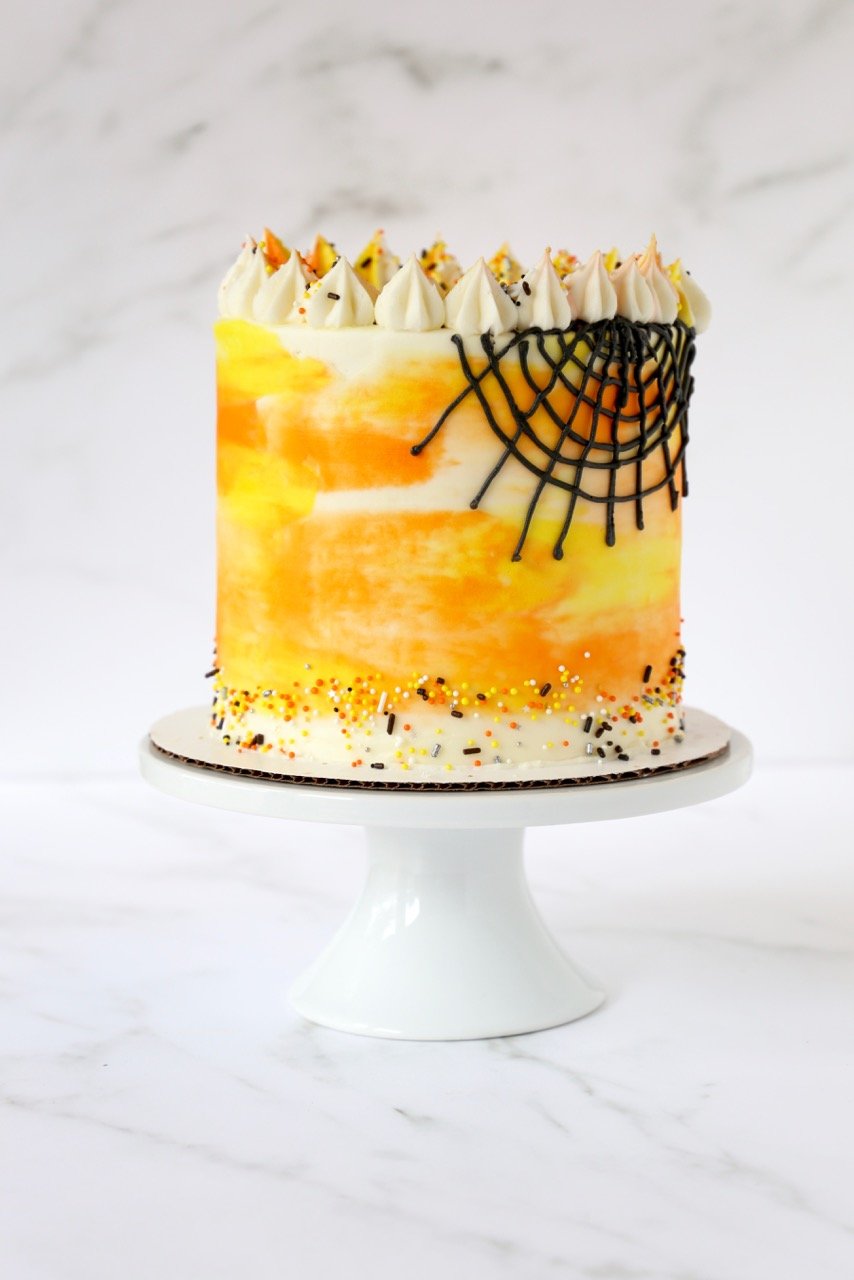
Supplies:
Cake Turn Table
Cake Boards
Large Spatula
Small Spatula
Metal Scraper
Piping Bags
Halloween Sprinkles (I made my own mix, but I love these!)
Orange Food Gel
Yellow Food Gel
Black Food Gel
Piping Tips-Open Star #7 (Border)
Piping Tip-Small Round #1 (Spiderweb)

Vanilla Bean Funfetti Cake
Ingredients
- ½ Cup Unsalted Butter, Softened
- ½ Cup Vegetable Oil
- 1 ½ Cups Granulated Sugar
- 4 Eggs
- 1 Tbsp Vanilla Bean Paste
- 3 Cups All Purpose Flour
- 1 Tbsp Baking Powder
- ½ Tsp Salt
- 1 ¼ Cup Buttermilk
- ½ Cup Assorted Sprinkles
Instructions
- Preheat oven to 350 degrees F and prepare four 6" cake pans or three 8" cake pans by greasing and lining the bottom with parchment paper
- In a large bowl, combine flour, baking powder and salt; set aside
- In a bowl of a stand mixer, cream together the butter, oil and sugar until creamy and combined
- Add eggs, one at a time and vanilla bean to butter mixture
- Slowly add in dry ingredients alternating with buttermilk until all ingredients are added; scrape down the sides after each addition
- Beat the batter on medium speed until completely combined and smooth
- Remove the bowl from the mixer and fold in the sprinkles
- Divide the batter evenly into the cake pans
- Bake for 20-25 minutes or until cake spring back at the touch (do not over bake)
- Remove the cakes from the oven and allow them to cool completely before removing them from the cake pans
- Using serrated knife, trim the top of the cake to be flat
- Brush the simple syrup on the top and bottom of the cake layers
- Layer the cake with buttercream icing and sprinkles
- Crumb coat the cake with buttercream icing
- Refrigerate to seal the first layer of the cake
- Complete the icing with buttercream icing
- Decorate using the watercolor method using yellow and orange food colors
- Pipe a spiderweb on the side and top of the cake
- Pipe and border using the white, orange and yellow butter cream and a open star tip #7
- Finish the cake with assorted sprinkles on the top and bottom of the cake
Simple Syrup
Ingredients
- 1 Cup Granulated Sugar
- 1 Cup Water
Instructions
- Combine both ingredients in a small saucepan
- Bring the two ingredients to a boil, stirring until the sugar is dissolved
- Allow the simple syrup to boil for 3-4 minutes after the sugar is dissolved to thicken
- Allow the syrup to cool completely before using
- Use immediately or store in a air tight container in the refrigerator until ready to use
Notes
- Simple Syrup can be enhanced with lemon zest or orange peel for a fresh citrus flavor
Buttercream Icing
Ingredients
- 2 Cups (1 lb) Unsalted Butter, Softened
- 1 CupVegetable Shortening
- 8 Cups Powdered Sugar
- 1 tsp Vanilla Extract
Instructions
- In a mixing bowl of a stand mixer, using paddle attachment, cream together butter and shortening
- Slowly add in powdered sugar and beat until smooth
- Scrape down the sides of the bowl, add in vanilla extract and continue mixing
- Mix on high for 4 minutes until the icing is smooth, creamy and has turned a white color from beating the icing
- Use immediately or store in a air tight container in the refrigerator until ready to use
- If icing is refrigerated, allow the buttercream to sit out for 30 minute to 1 hour or until soft and spreadable
Notes
- Use food gel colors to color butter cream and decorate
Leave a Reply