
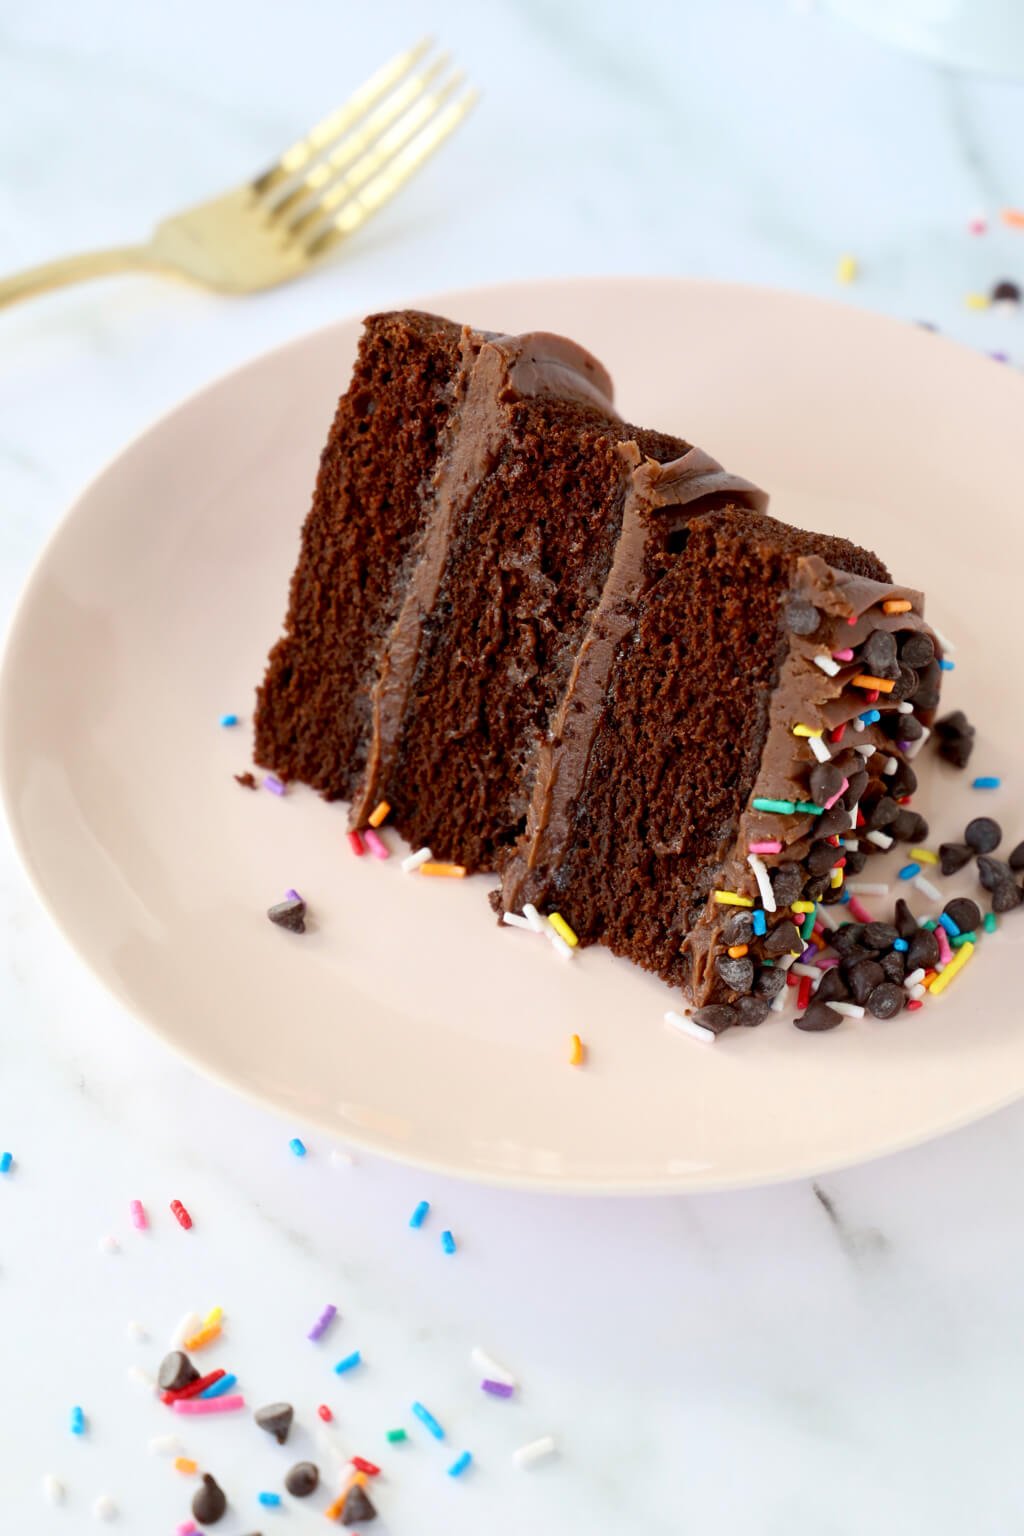
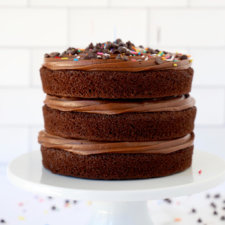
The Best Chocolate Buttermilk Layer Cake is exactly what we all need for every celebration. Three layers of classic chocolate cake paired with the most decadent Chocolate Buttercream Frosting. 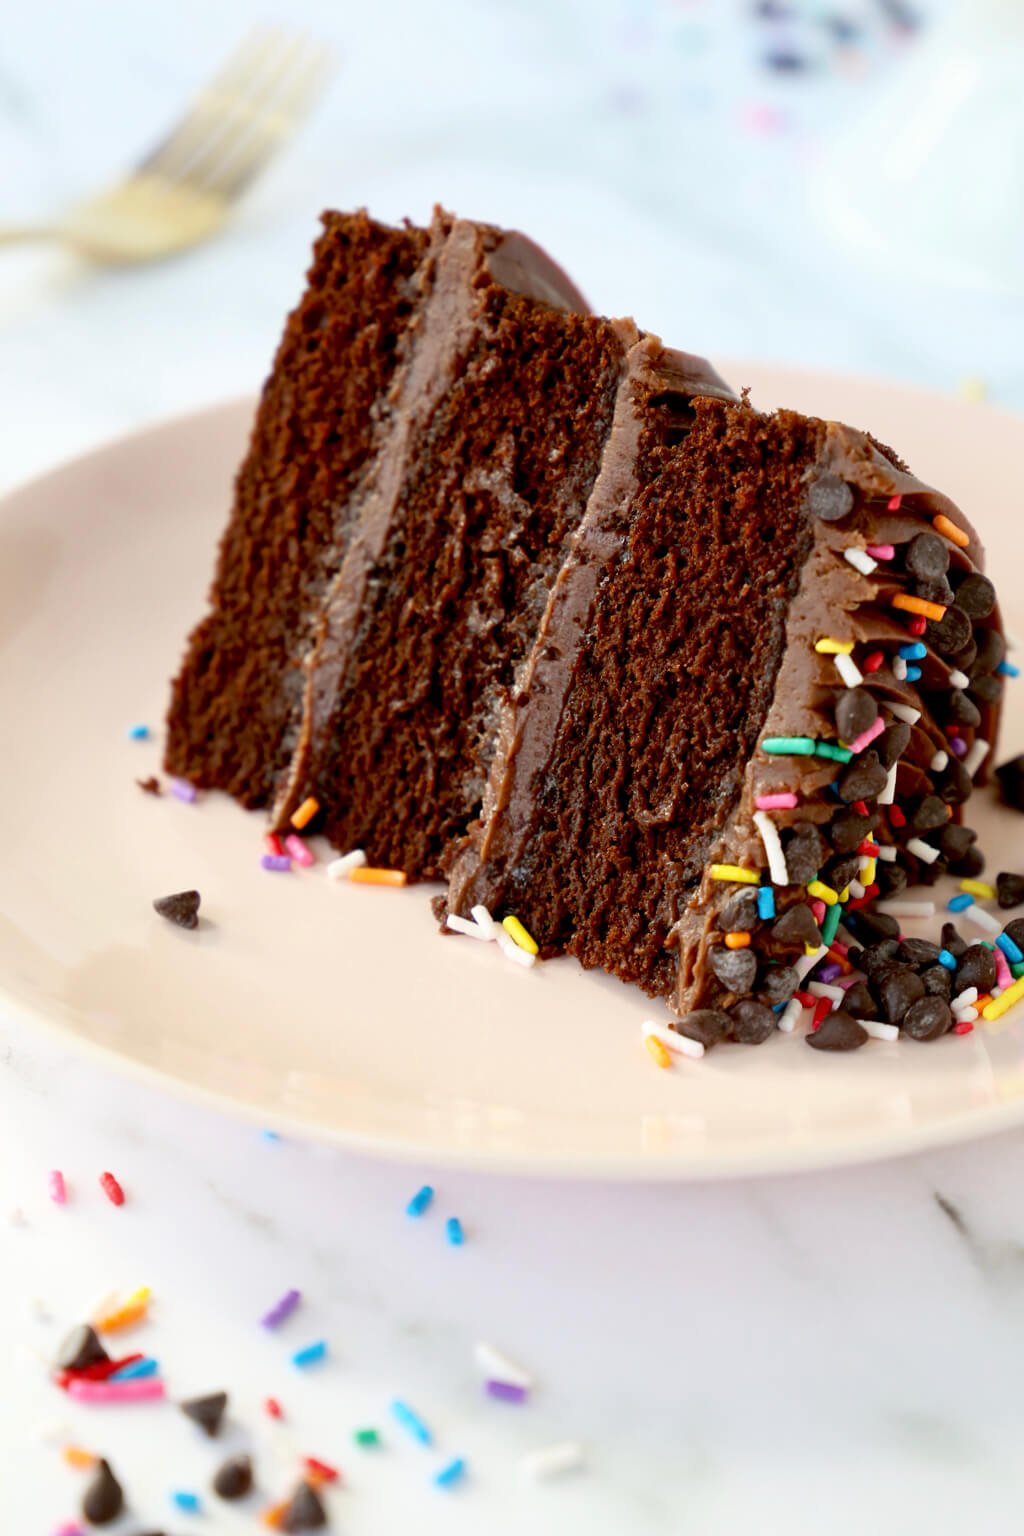
Every birthday celebration is so special and so different. I love to make each individual feel extra special and let them choose how they want to celebrate their special day. Choosing the menu for the day is the first thing we do. Most mornings start with donut cakes, singing, and a kitchen island full of gifts and balloons.
I love starting the day with a mini celebration for our family. Each person chooses their favorite meal and the best part is deciding on the cake flavor they love the most. This is where everyone gets creative and I love getting to bake exactly what they want.
This year my ten-year-old chose her cake flavor and she wanted to stick with a classic. This chocolate cake is my go-to recipe for all celebration cakes. It is really easy to make, no complicated ingredients and it always turns out so perfect. Classic Chocolate Layer Cake is made with super moist chocolate cake layers, a rich and creamy Chocolate Buttercream Frosting. And she requested extra chocolate chips added into the layers of the cake and on top! This kid has good taste!
Ingredients
Would you like to save this?
- Flour- All-purpose works great
- Leavening Agents- Baking powder and baking soda for the perfect amount of rise
- Buttermilk- To give the cake its the wonderful moist texture
- Vegetable Oil- Also for the moisture in the cake
- Cocoa Powder- The star of the show: rich chocolate flavor
- Vanilla Extract- To add another subtle layer of flavor
Directions
- Preheat oven to 350 degrees
- Spray 3-6 inch cake pans with non stick spray and line the bottom of each pan with a 6 inch round piece of parchment paper
- In a medium bowl, combine the flour, sugar, cocoa powder, salt, baking soda and baking powder; whisk until combined, set aside
- In a small bowl, whisk together buttermilk, oil, eggs, and vanilla extract
- Add the dry ingredients into the wet ingredients and whisk until the batter is smooth
- Scrape the sides of the bowl to make sure that all of the cake batter is fully incorporated
- Add the boiling water to the batter and slowly whisk until fully combined, scraping the sides down in between each addition
- Pour the batter equally into three 6 inch cake pans
- Bake at 350 degrees for 12-14 minutes or until a cake tester comes out clean
- Allow the cake to cool for 30-40 minutes before removing from the pan
- Once the cake layers are cooled you can start layering the cake with Chocolate Buttercream Frosting or Chocolate Fudge Frosting
- Place one cake layer on a serving dish or a cardboard cake round, spread one layer of frosting on top of the cake layer; repeat until all three cake layers are used
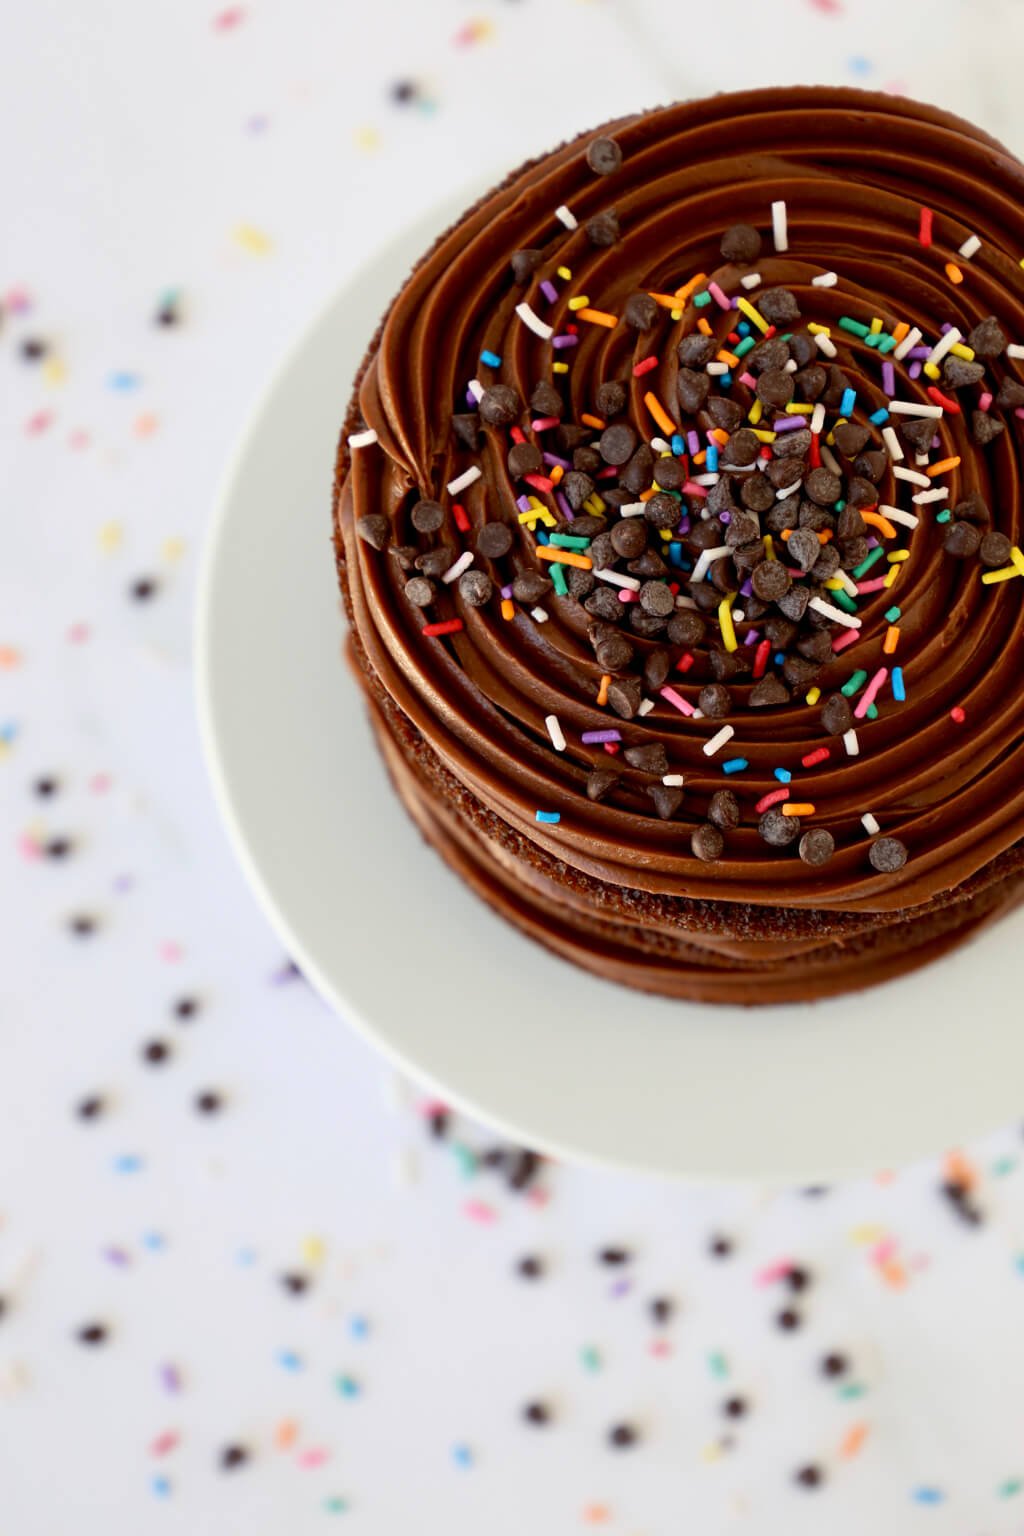
- Frost the top of the cake with frosting and garnish with sprinkles or a decoration of your choice
- Refrigerate the cake for 10-20 minutes to allow the frosting to set
- Once you are ready to serve the cake, remove from the refrigerator and sit at room temperature for 30 minutes. Then enjoy!
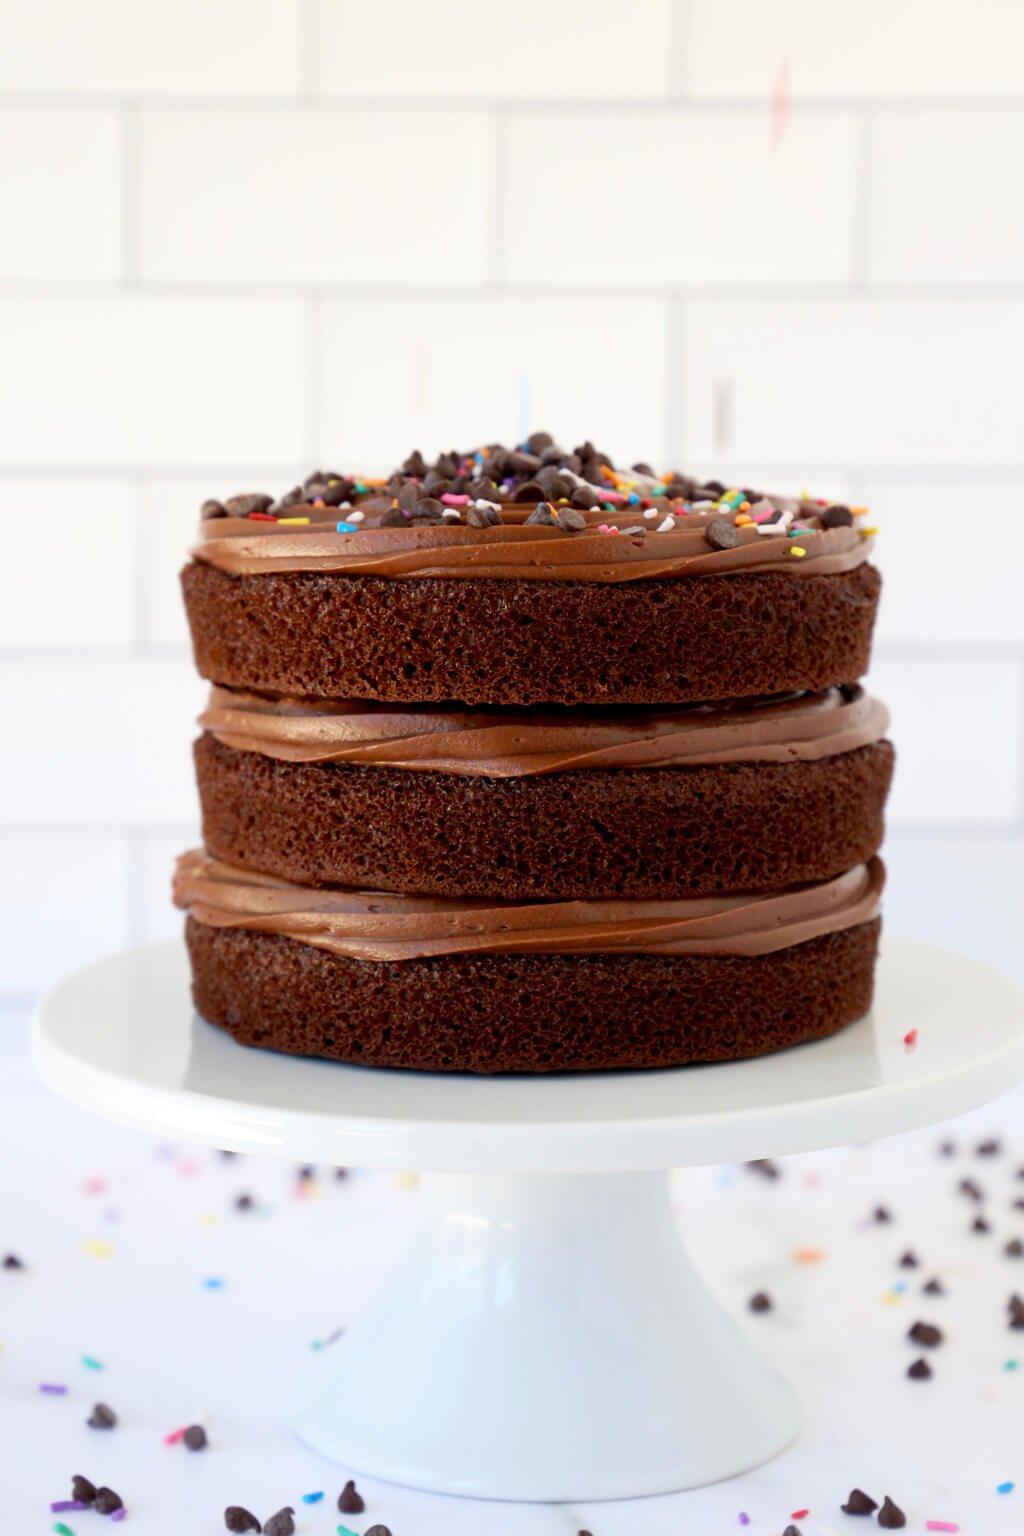
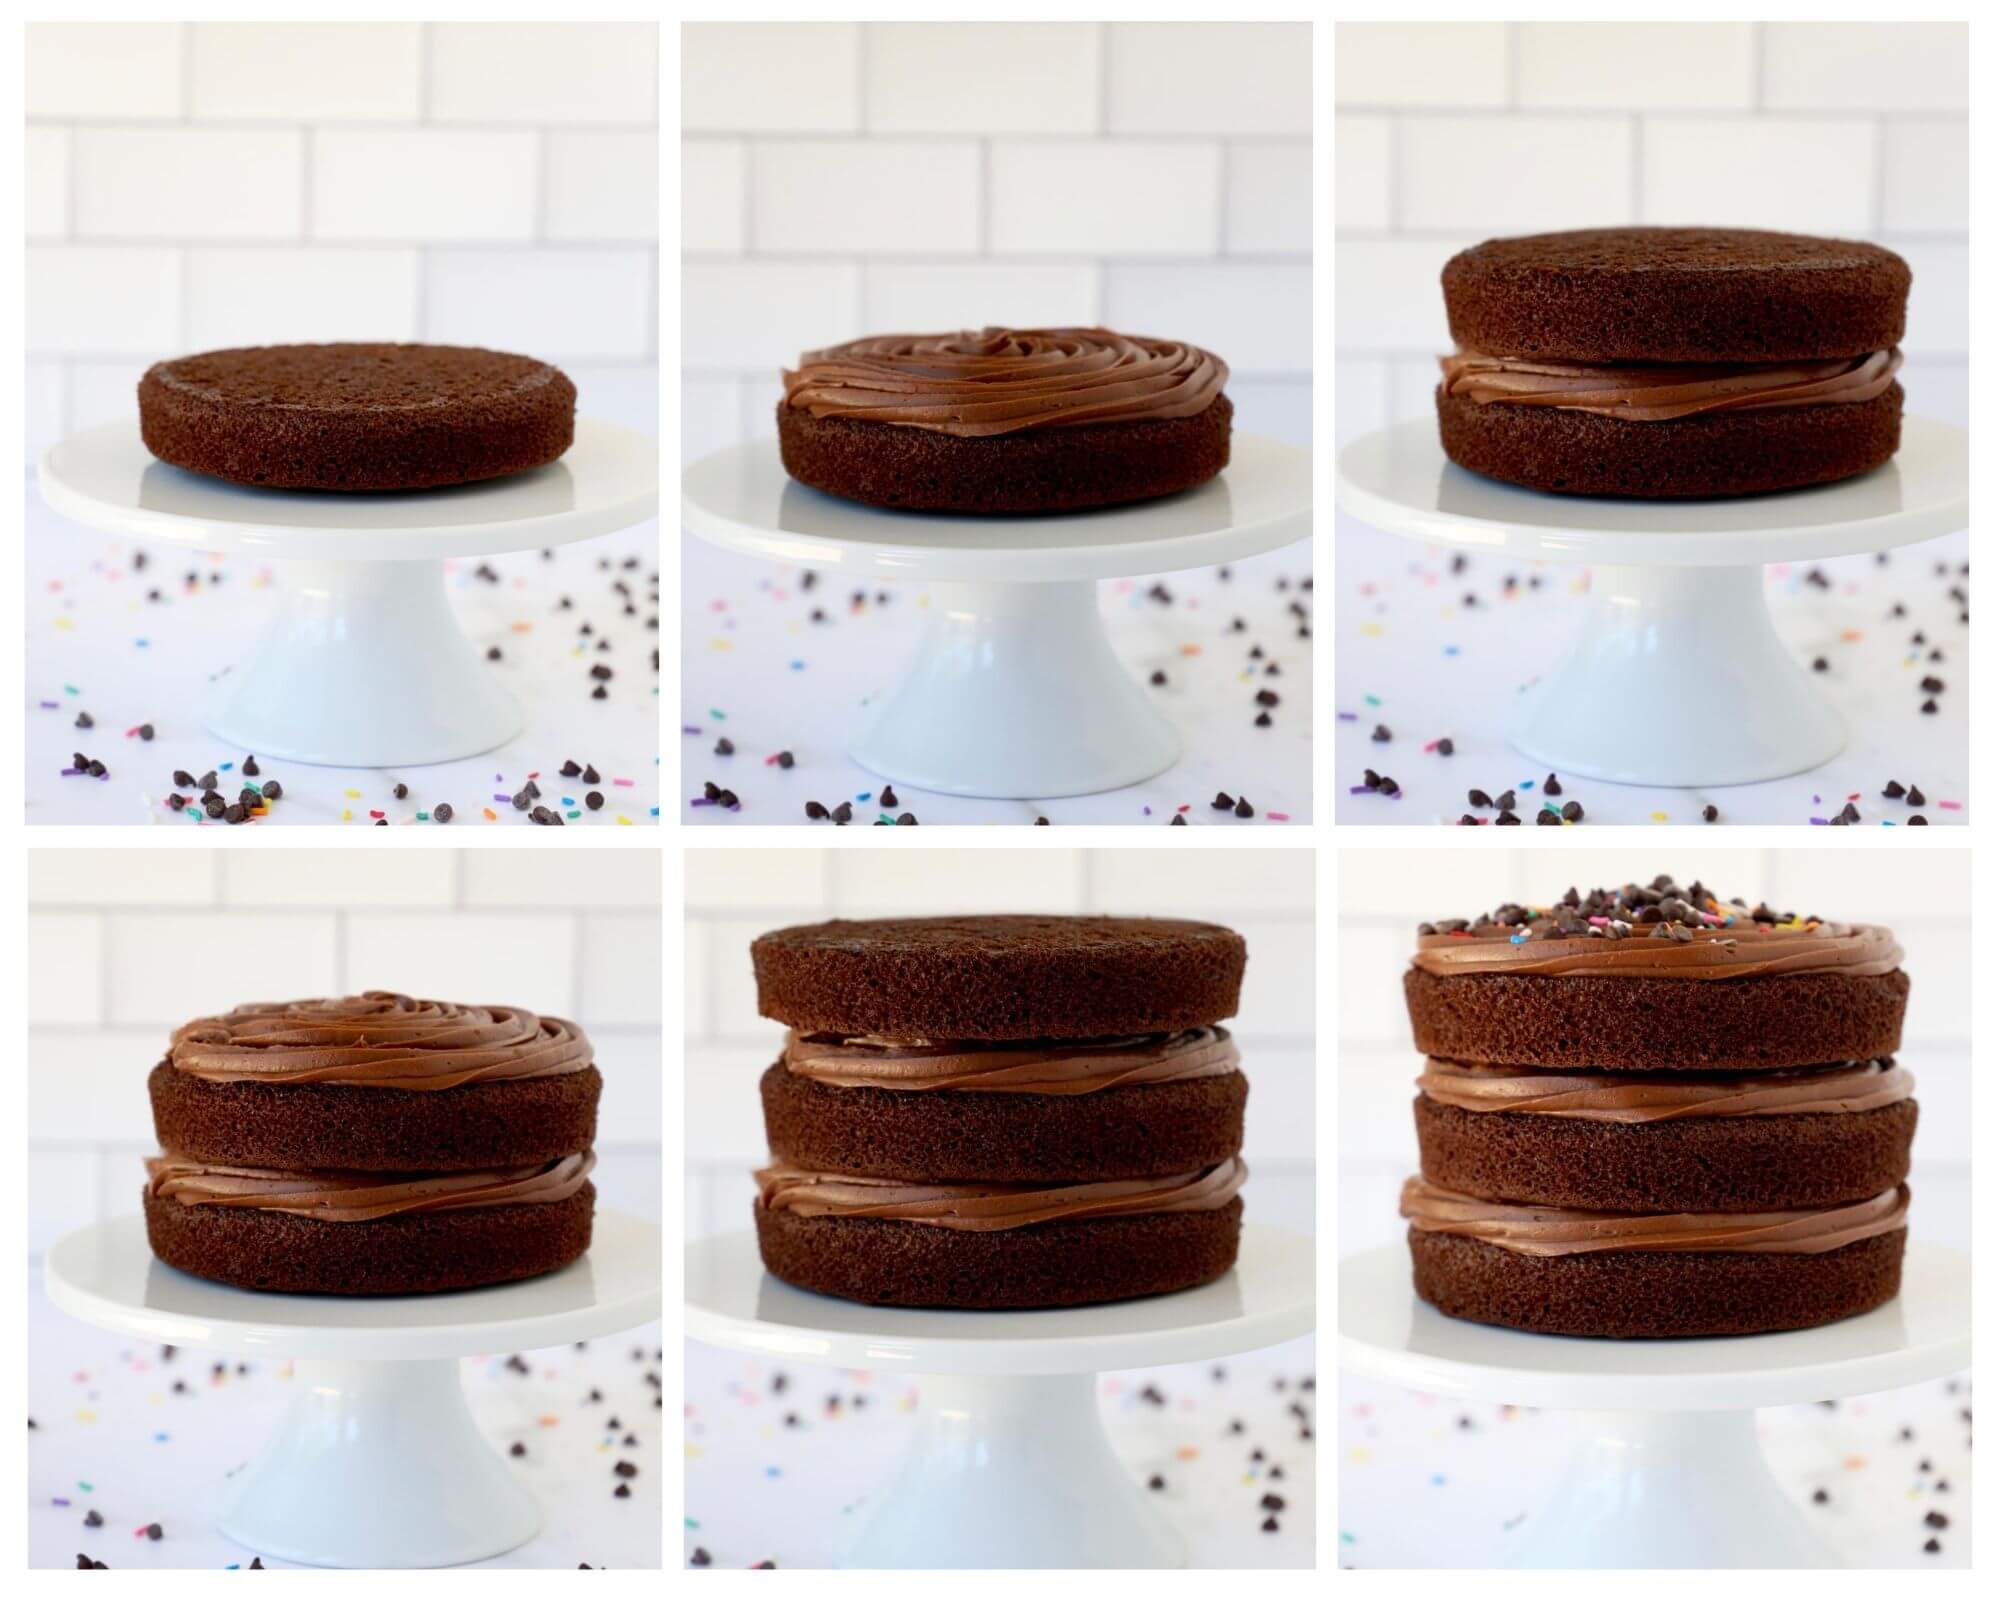
Layering The Cake
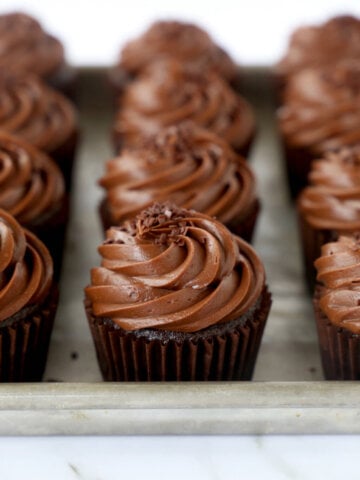
The task of layer a cake might seem daunting, but I promise if you have a good foundation with the cake layers and a smooth and creamy Chocolate Butter Cream Frosting, you are going to have success! Once the cake is baked, make sure that you cool it completely so that it does not melt the frosting. When the cake layers are cooled, start by placing the first layer on a cake plate or a cake board and add the frosting on top of each layer. Repeat until all three layers are stacked and finish with a layer of frosting on the top. If you like the look of piping the frosting, you can grab some disposable piping bags and a star tip to make a clean and creative look. For a simple and fun decoration, mix together mini chocolate chip and rainbow sprinkles and you are ready to party!
Tips and FAQs for Classic Chocolate Layer Cake
- If you need to bake the cake ahead of time, allow the cake layers to cool and then wrap each layer in plastic wrap and leave at room temperature until you are ready to assemble and decorate.
- If you're like me and living in an environment that is hot and humid, you may want to refrigerate your cake to set the icing because the temperature outside will make the frosting very soft and will be more difficult to serve.
- Once you have enjoyed the cake with your family and friends you can store the extra slices in an air tight container at room temperature for one day or in the refrigerator for 2-3 days.
- Remember: keeping a cake in the refrigerator for too long will end up drying the cake layers out.
Yes!!! I have made this recipe so many times to accommodate for a Gluten-Free Diet and it works perfectly!! I simply replace the all-purpose flour for Gluten Free 1 to 1 Flour and it creates the same moist, decadent chocolate cake!
A 6 inch round cake serves 6-8 people depending on how you slice it. It is really a great size cake for a small celebration but I also love to bake more than one 6 inch cake instead of a large cake if I have a larger gathering. If you want to make an 8-inch three-layer cake, you can double this recipe and you will be set to serve 10-12 people!
More Chocolate Recipes You Will Love

Thank you for visiting Joy + Oliver. If you tried this recipe, please leave a 5 Star Review in the recipe card and save all your favorite recipes to Pinterest!
Please visit us on Instagram, Facebook and Pinterest for more of our favorite recipes that you will love!
The Best Chocolate Buttermilk Layer Cake
Ingredients
- 1 Cup All Purpose Flour
- 1 Cup Granulated Sugar
- ½ Cup Cocoa Powder
- 1 tsp Baking Powder
- ¾ tsp Baking Soda
- ½ Cup Buttermilk
- ¼ Cup Vegetable Oil
- 1 Eggs
- ½ tsp Vanilla Extract
- ½ Cup Boiling Water
- 1 Recipe Chocolate Buttercream Frosting
Instructions
- Preheat oven to 350 degrees F and prepare 3-6 inch cake pans with non stick spray and line the bottom of each pan with a 6 inch round piece of parchment paper
- In a medium bowl, combine the flour, sugar, cocoa powder, salt, baking soda and baking powder; whisk until combined, set aside
- In a small bowl, whisk together buttermilk, oil, eggs, and vanilla extract
- Add the dry ingredients into the wet ingredients and whisk until the batter is smooth and all ingredients are fully incorporated
- Scrape the sides of the bowl to make sure that all of the cake batter is fully incorporated
- Add the boiling water to the batter and slowly whisk until fully combined, scraping the sides down in between each addition
- Divide the batter into three 6 inch cake pans
- Bake at 350 degrees for 12-14 minutes or until the cake springs back at the touch or a cake tester comes out clean
- Allow the cake to cool for 30-40 minutes before removing from the pan
- Once the cake layers are cooled you can start layering the cake with Chocolate Buttercream Frosting or Chocolate Fudge Frosting
- Place one cake layer on a serving dish or a cardboard cake round, spread one layer of frosting on top of the cake layer and repeat until all three cake layers are used
- Frost the top of the cake with frosting and garnish with sprinkles or a decoration of your choice
- Refrigerate the cake for 10-20 minutes to allow the frosting to set so that it is not too soft to transport
- Once you are ready to serve the cake, remove the cake from the refrigerator and allow it to sit at room temperature for 30 minutes before enjoying!
Nutrition

Diane Genard says
This cake was so very moist and the chocolate buttercream icing .... well heavenly ❤️.... I’m certainly not to your caliber of baking perfection but it was a hit for my granddaughters 4th family birthday party ... thank you for all your delicious recipes!!
kristen massad says
I am so glad you loved it! Thank you for choosing my recipe to enjoy with your family!